5 Tips For A Picture Perfect Staircase
5 Tips For A Picture Perfect Staircase...
You've got a brand new staircase and now you want to show it off, maybe show the 'gram your #StaircaseReno, here are 5 ways you can ensure your photos do justice!
Congratulations on your new staircase. We hope that you are delighted with the results. Now that it has been installed, we would love to show it off in our online gallery.
This information is here to help you take the best possible staircase picture so that we can ensure a standardised consistent approach and ensure that your staircase is set off in its best light.
Landscape NOT Portrait
Please take pictures in landscape mode to make sure that the image can be clearly seen. (Wider images are better than tall ones as cropping will occur when publishing photos on the website).
Bigger Is Better
Ensure your images are at least 1920x1080px in size.
A bigger photo clearly shows all of the detail of the high-quality workmanship in its best light which is lost in a smaller picture. The same staircase can look small, dark and uninviting or light and airy with its quality features on full display just by adding light and size to give a more accurate representation of its dimensions. If there is no natural light, flicking the switch on can make all the difference too!
Let There Be Light
There’s nothing worse than a dark grainy image. Ensure that the light source is behind you or that the room is well-lit and the camera flash in auto mode.
Readers Also Liked:
'How To Prolong The Life Of Oak Staircases'
Have A Steady Hand
Holding the camera steady will avoid any blurry images and enable any viewers to the site to see all the details clearly. You have a great looking staircase so you’ll want to show it off with a clear picture!
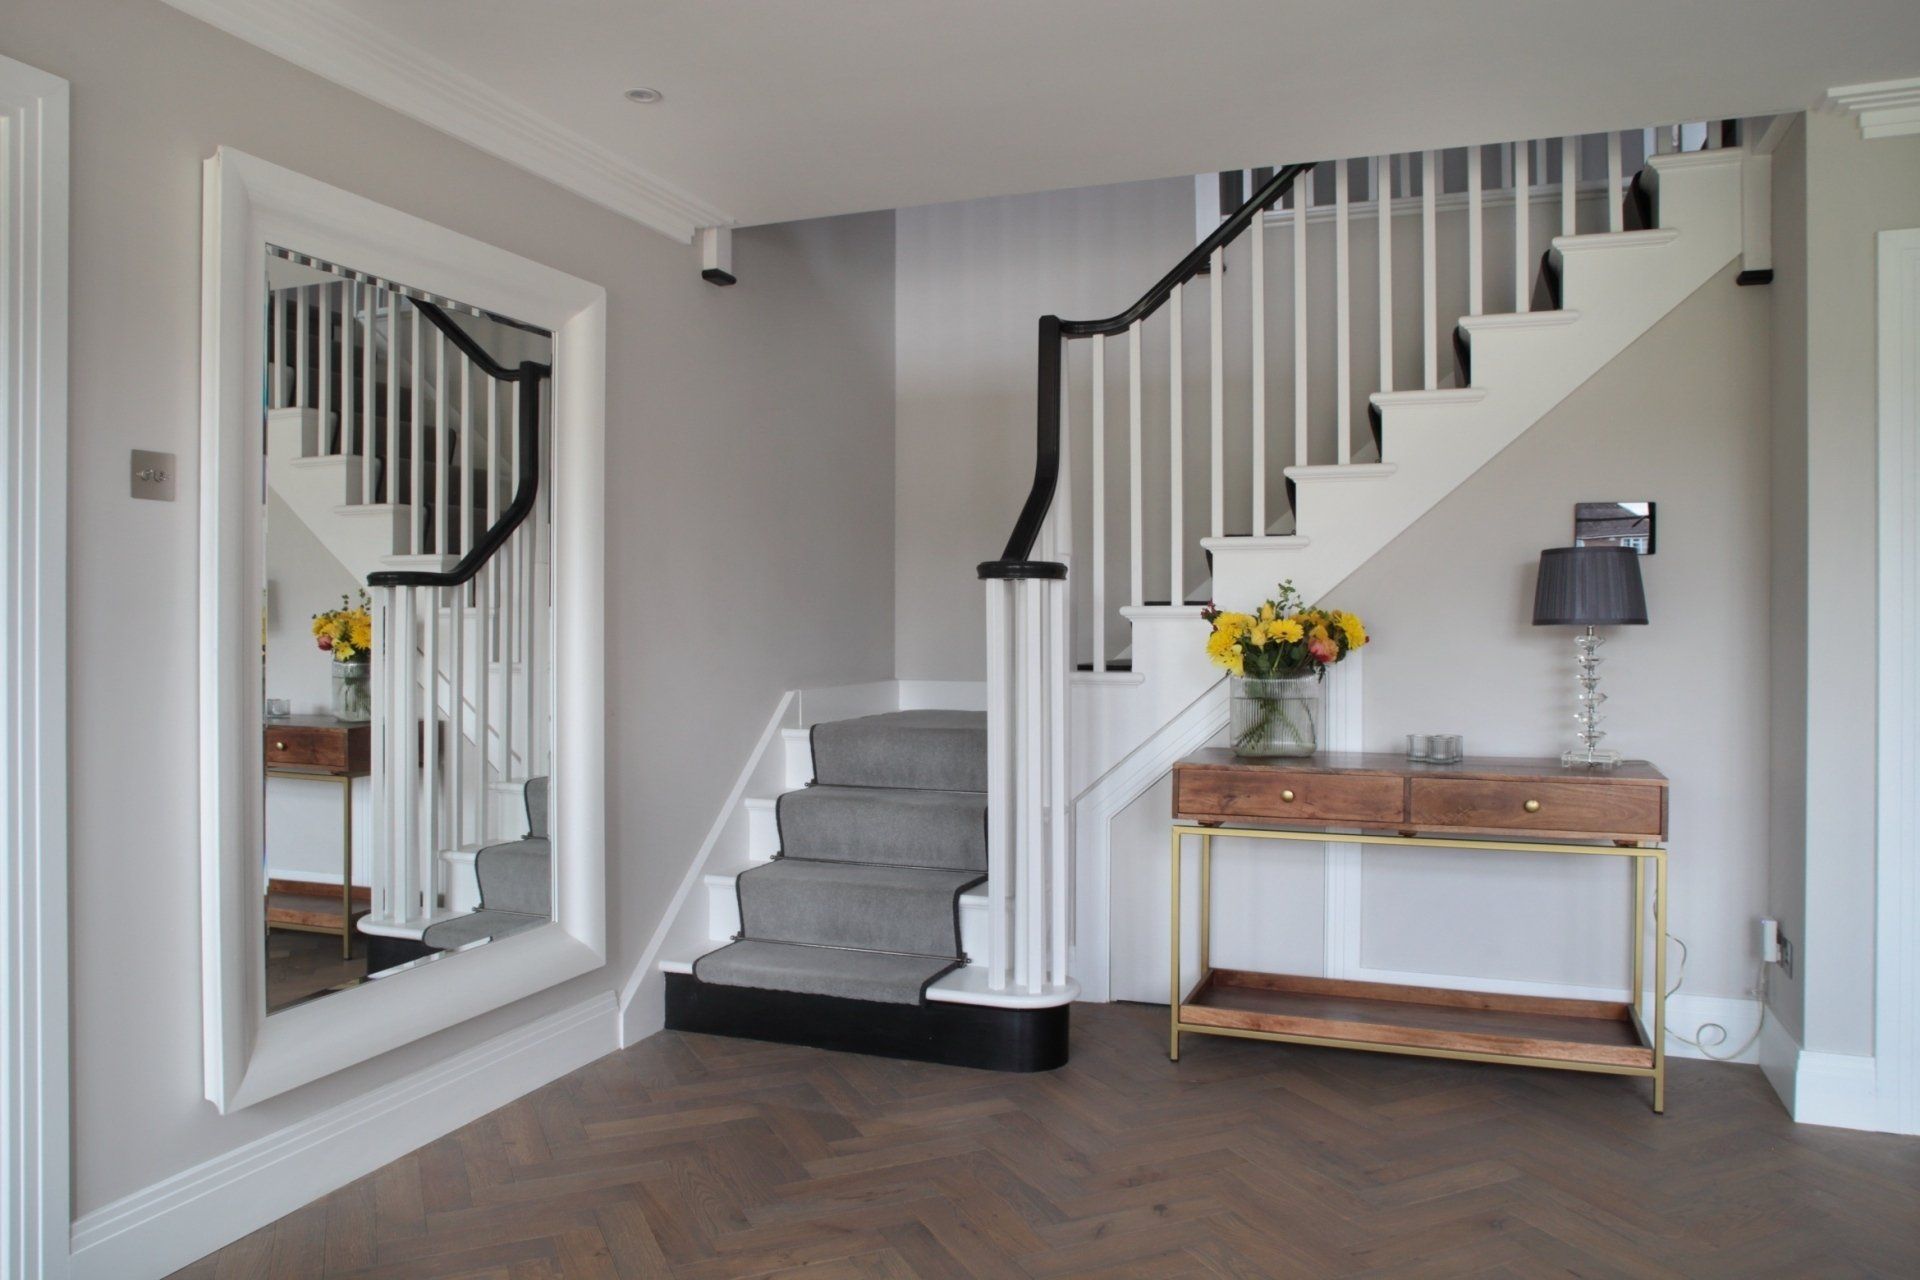
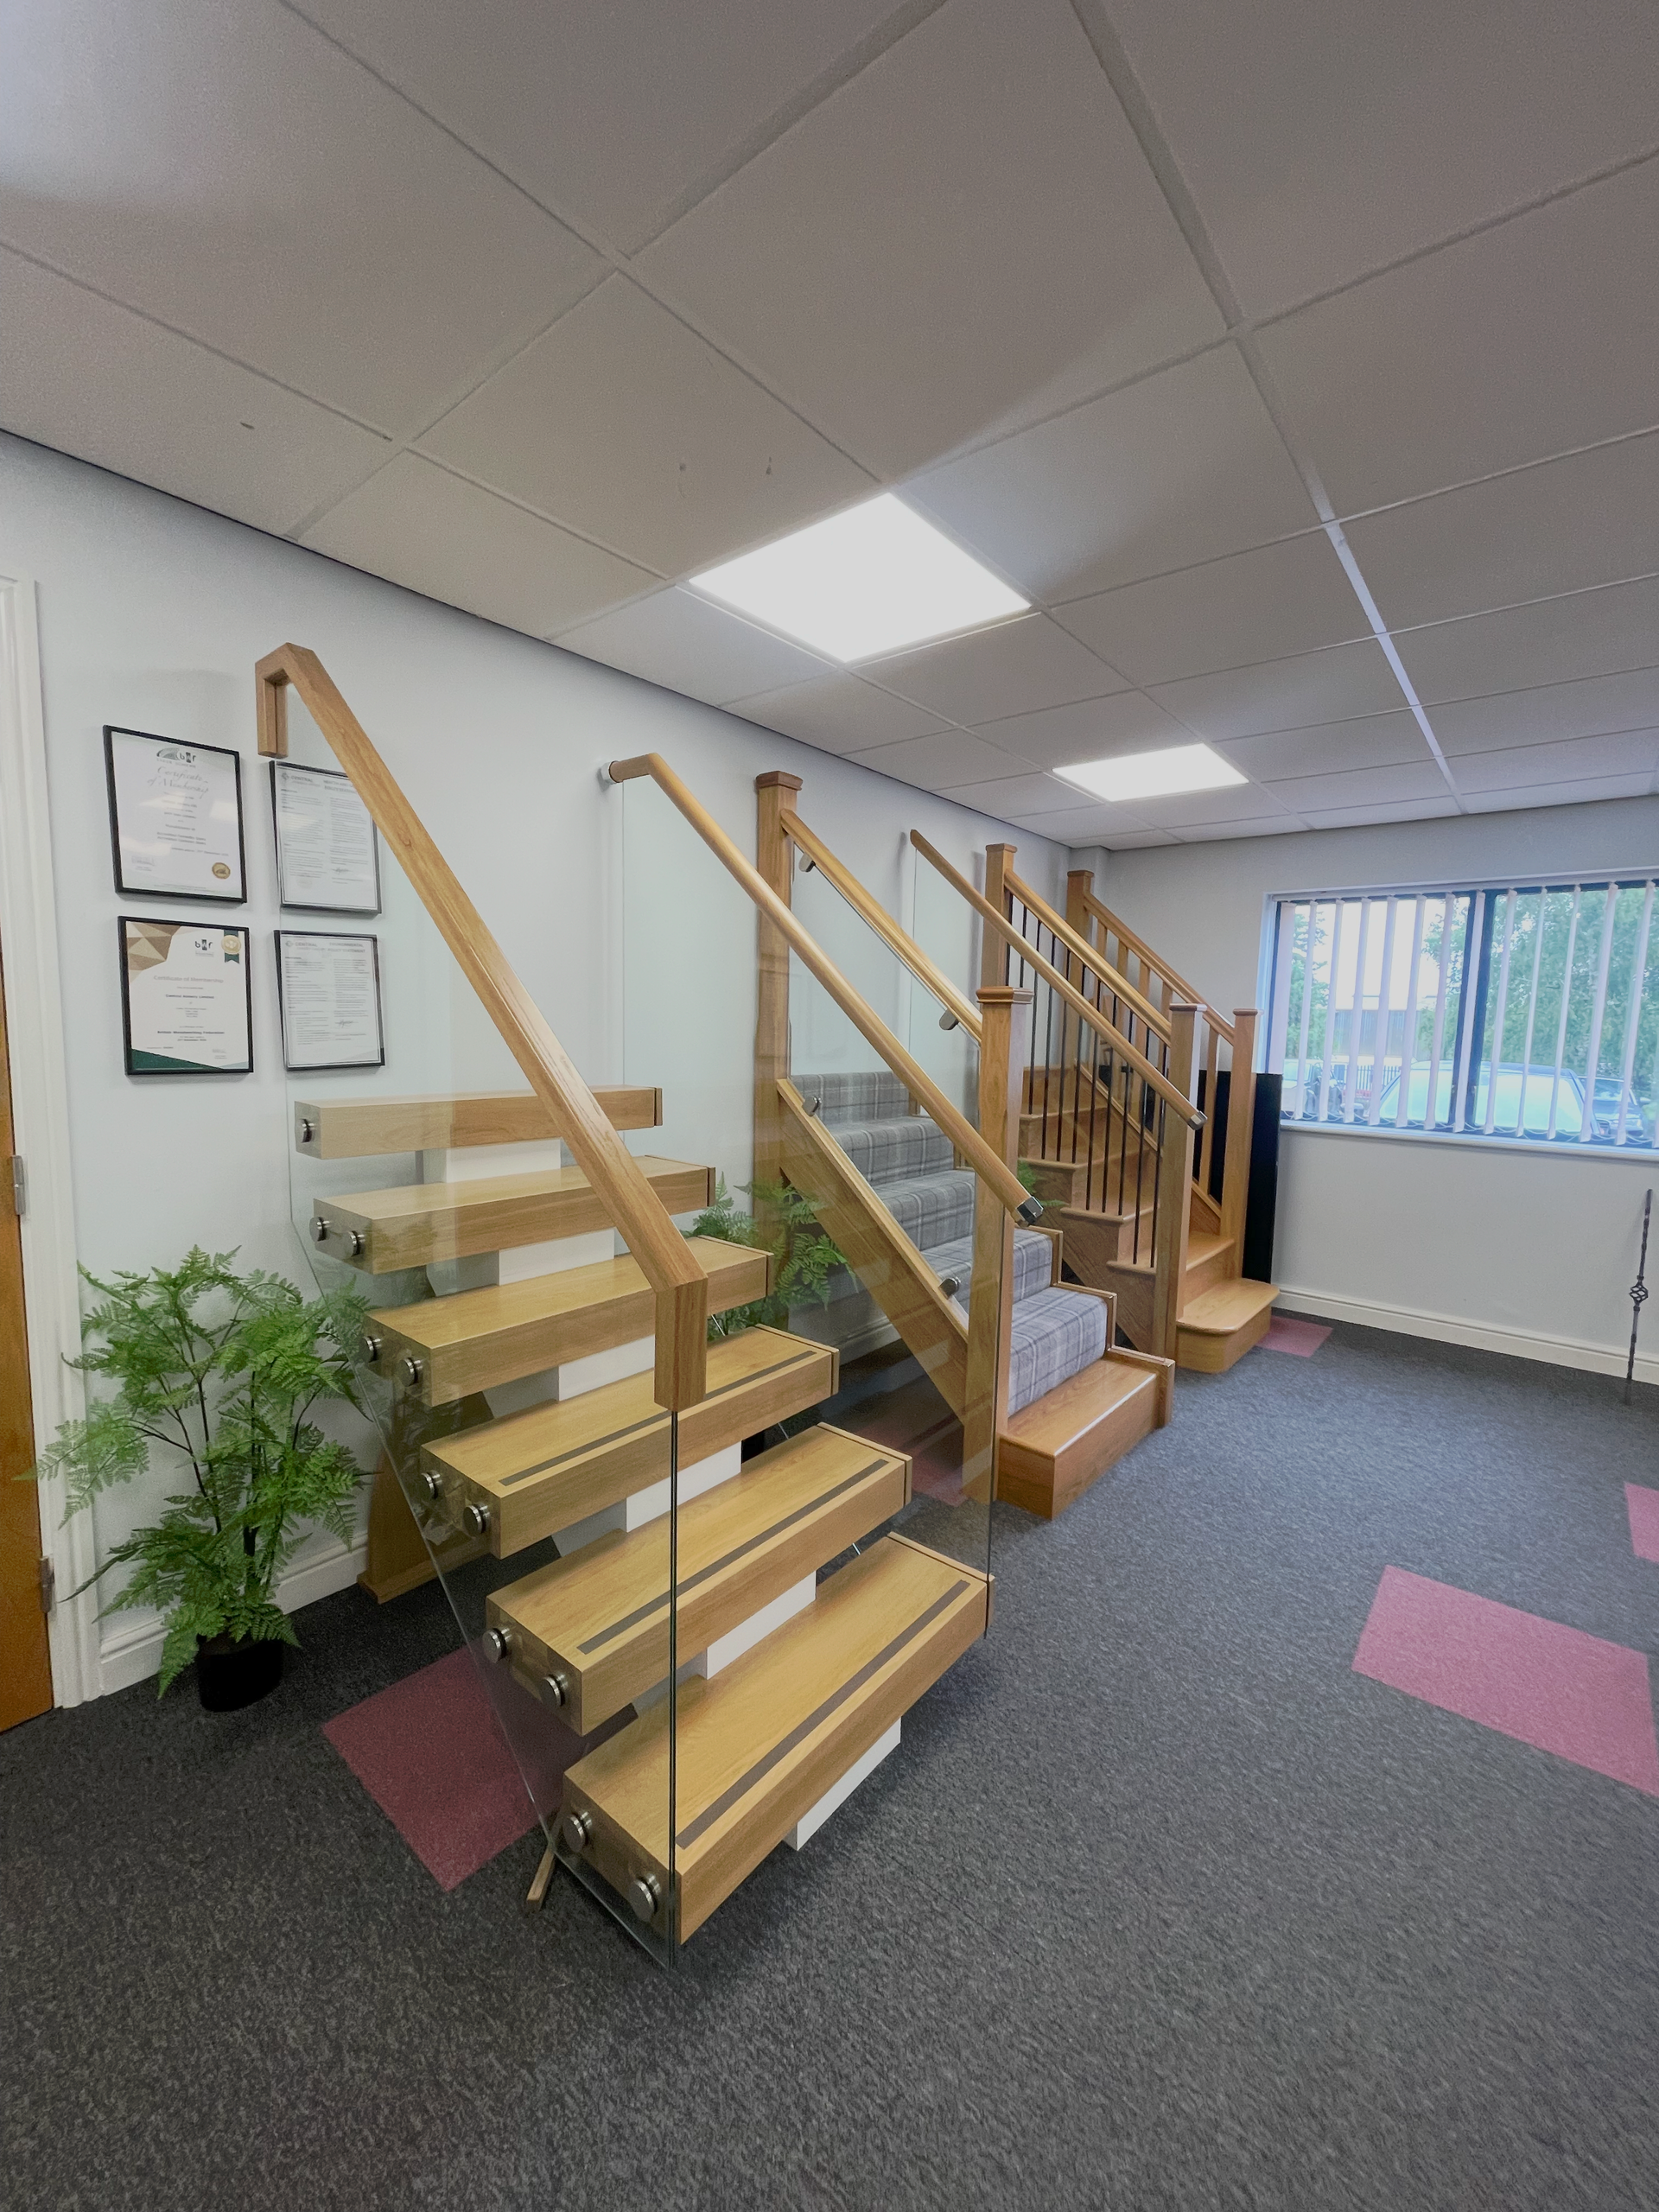
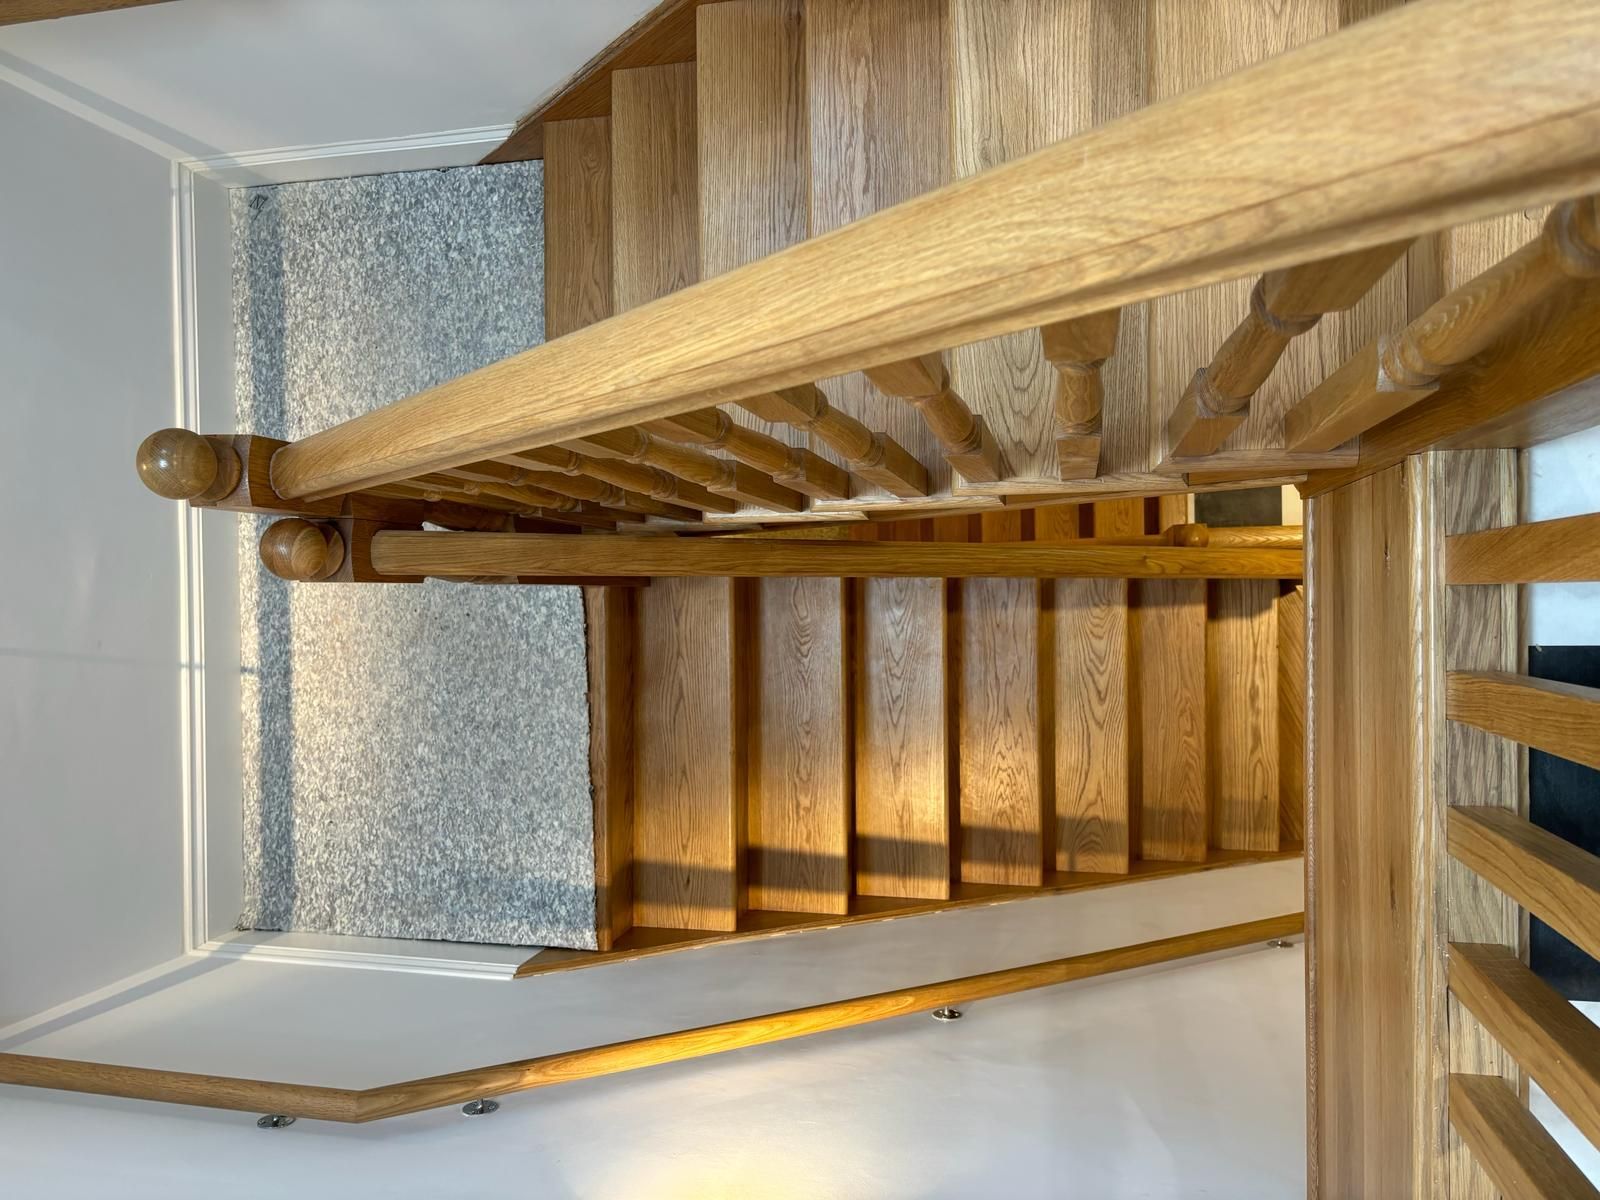
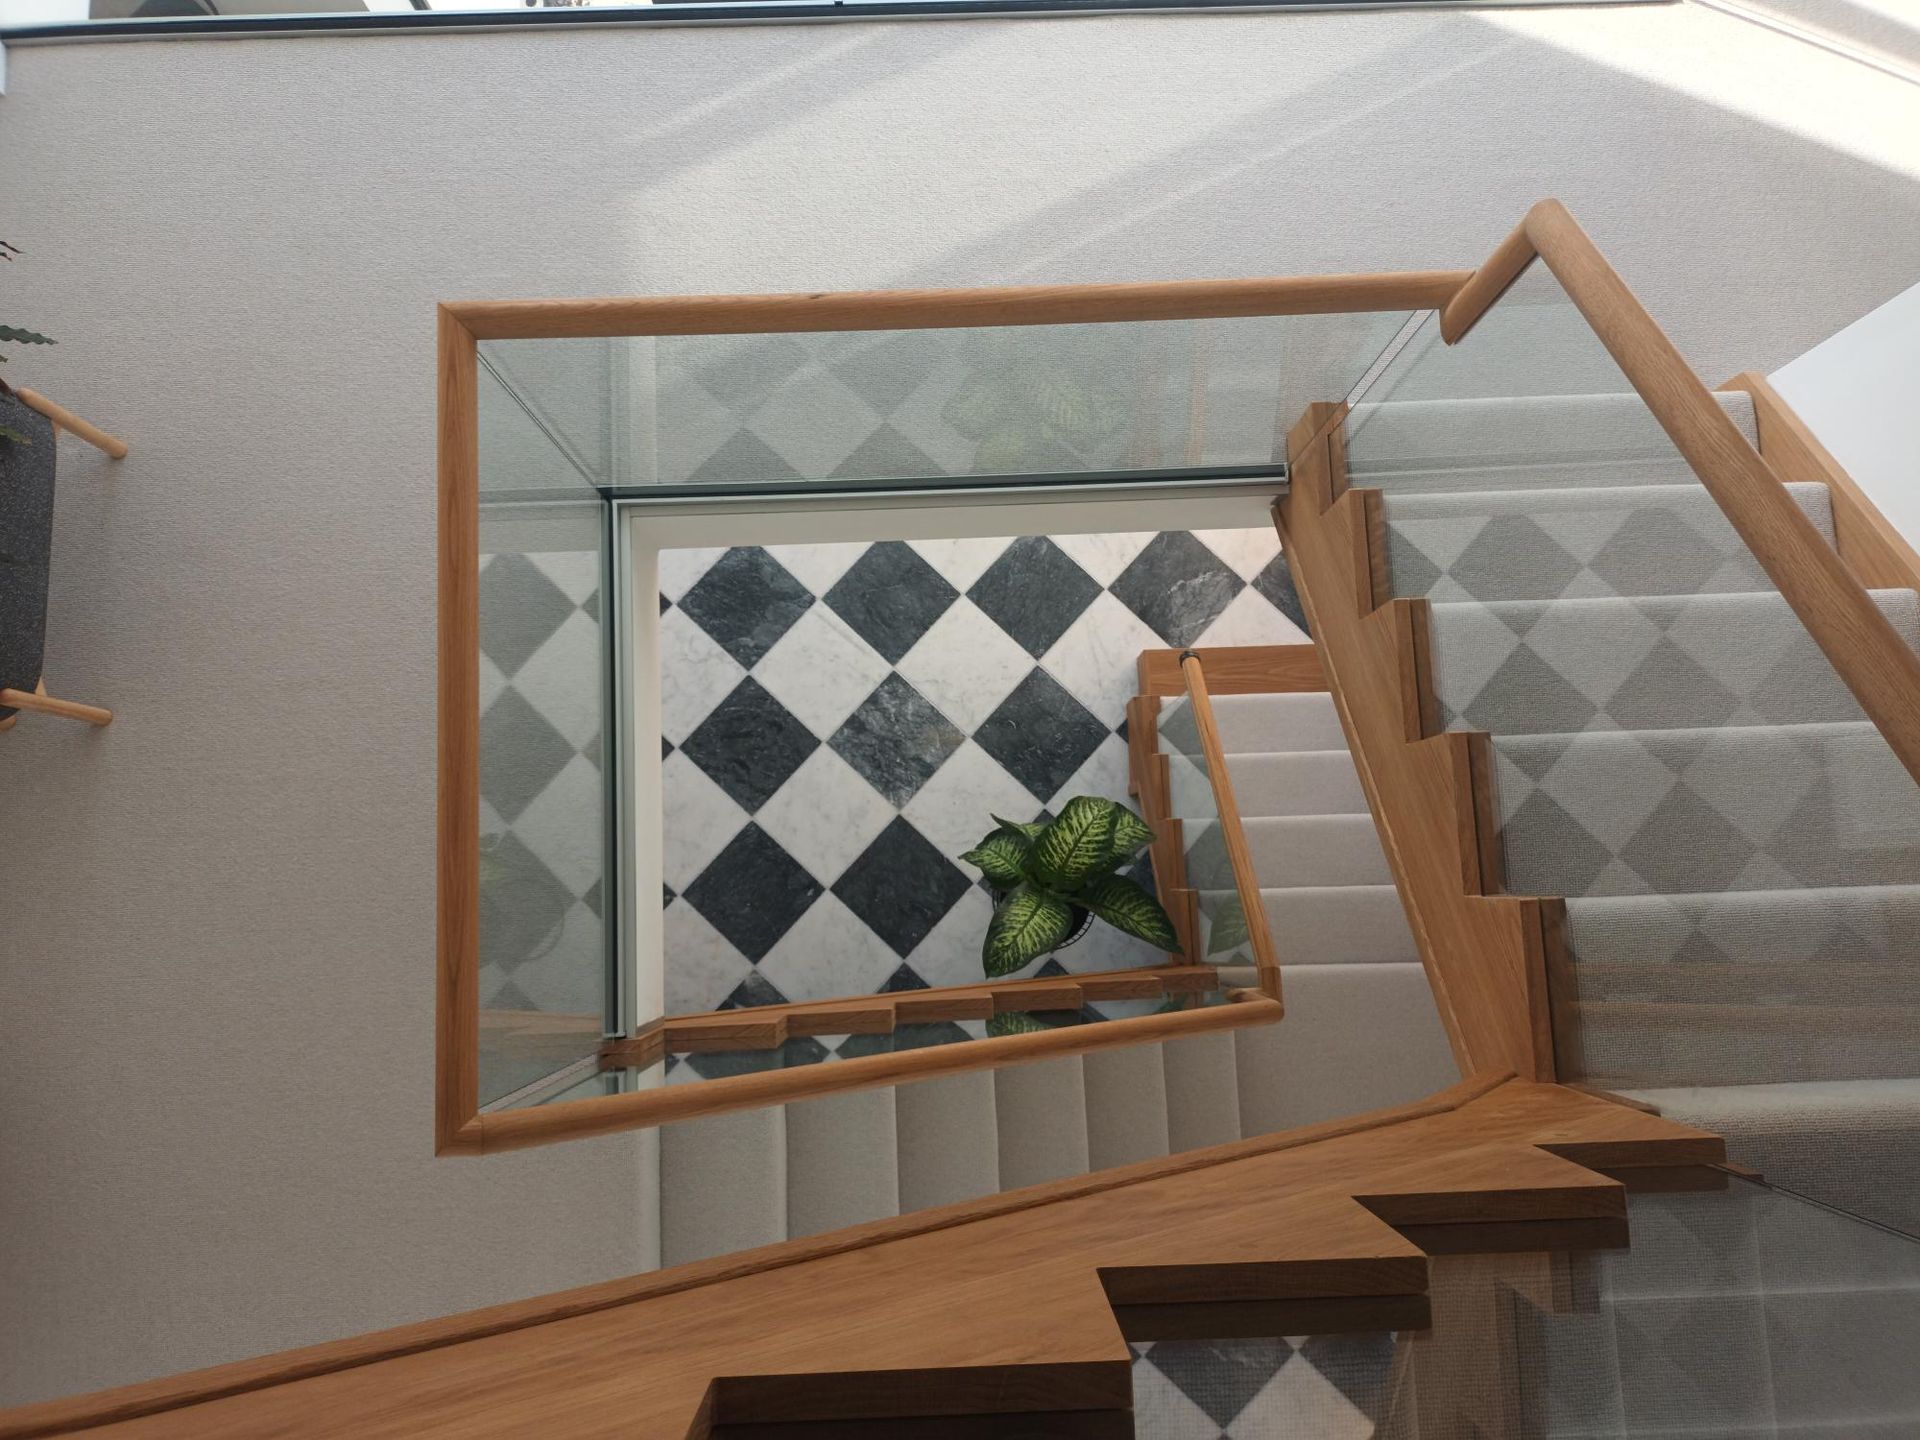
Two Sides To Every Story
Take shots from different sides of your staircase and from a slight angle to show all its bespoke features clearly.
- Standard angles - A bottom up photo can help capture the incoming light as well as the reflective properties of the glass- these give a much better idea of the sense of space as well as the warmth and welcoming feel to a hallway that an oak and glass staircase can provide.
- Quirky angles - A top down photo can also work well- drawing the eye to the quality of the wood and joinery detail. In this photo, these are cleverly framed by the wall pictures which provide a warm welcoming feel.
- Side view - A side on photo can work well- this one displays the quality work that has gone into refurbishing this staircase (you would never know that it’s been refurbished rather than brand new!)

Feeling inspired? Browse our gallery full of stunning staircase photography to get an idea of the photos you could be taking of your new pride and joy.
We are looking for images that show off the effect a new or refurbished staircase has had on your home. Whether you have had a complete Oak and Glass replacement stair or have opted for something simpler, we want to see it! Share it with us via Facebook or Instagram!
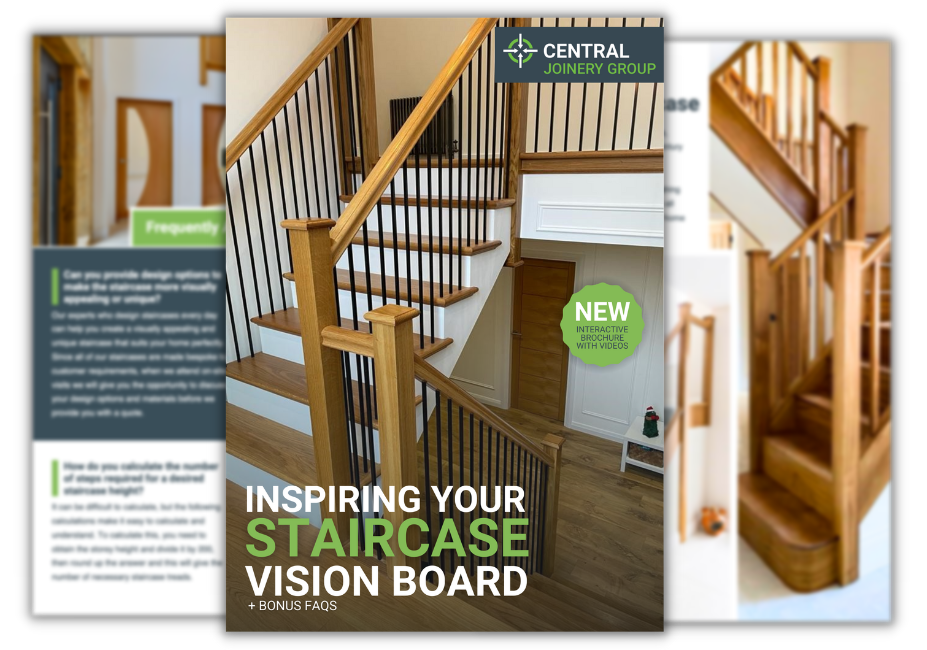
Download Our Latest Brochures
Get your #HomeInspiration fix by browsing the stunning staircases and bespoke joinery solutions showcased in our latest brochures.

Learn More About Central Joinery Group
Book A Free Bespoke Design Review
Bring your ideas to life and discuss the logistics, including price and estimated completion timelines with your dedicated sales surveyor.